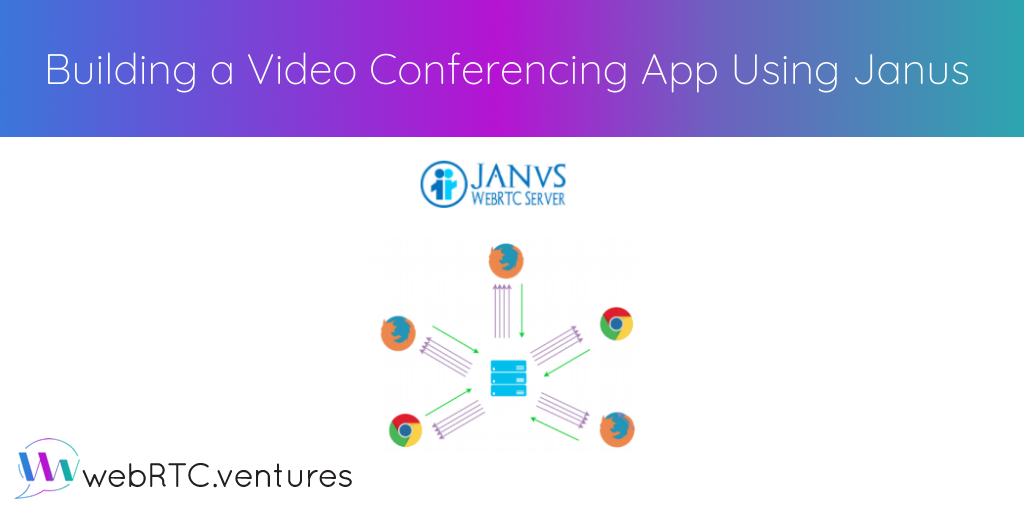
For basic one to one video communications on the web, we could just use WebRTC and connect peers directly. However, when we want advanced functionalities (ie, recording or transcoding), or if we have more participants, we will need the help of a media server. A WebRTC media server essentially is a server optimized to more efficiently receive and send media.
There are many great open source WebRTC media servers out there. (We mentioned some of them here and more recently, here.) In this post, we will focus on one of the most popular, Janus. The Janus WebRTC server, as described by its creator Meetecho, doesn’t provide any functionality on its own. It does have an important, more general purpose. Janus implements the means to set up a WebRTC media communication with a browser, exchange JSON messages with it, and relay RTP/RTCP and messages between browsers and the server.
Media servers in general, and Janus in particular, can be a bit complex. Especially for web developers that are not familiar with WebRTC. Also, there are other media servers might provide more online documentation, npm modules, and SDKs for more frameworks and code languages to help less experienced WebRTC developers. However, Janus’ great performance, small footprint, and an active open source repository and community make it a popular choice for developers looking to use the latest supported WebRTC functionalities.
So now, let’s take Janus out for a spin and build a test video conference app with it.
Janus Media Server configuration
To deploy your Janus Media Server, you can install it manually or use tools like Docker to ease installation and deployment. In their README, you will find all the information needed. However, if you want to skip the manual installation and configuration, you can use this generic Janus WebRTC Server docker container. Once you have this running locally you can test if it is accessible by opening http://localhost:8088/janus/info. It should display what’s available in the Janus instance you’re trying to contact.
The Web Application
For our video conferencing app to work, your web app will need to communicate with the Janus WebRTC server and let it connect the multiple participants. To achieve this, we will use janus.js to communicate with the Janus Media Server API and we will attach each client to the VideoRoom plugin.
Once you have janus.js ready and Janus object available in your client application, you will need to:
- Attach to the Janus VideoRoom Plugin and obtain a handle
Janus.init({debug: "all", callback: function() {
                // Make sure the browser supports WebRTC
                // Create session
                janusRoom = new Janus(
                    {
                        server: server,
                        success: function() {
                            // Attach to VideoRoom plugin
                            janusRoom.attach(
                                {
                                    plugin: "janus.plugin.videoroom",
                                    opaqueId: opaqueId,
                                    success: function (pluginHandle) {
//...- Use this handle to send a “register message”
 const register = { "request": "join", "room": myroom, "ptype": "publisher",   "display": reg };
vroomHandle.send({ "message": register });- Handle the “joined” response from Janus and start publishing
onmessage: function (msg, jsep) {  var event = msg["videoroom"];
  if (event === "joined") {
    // Publisher/manager created, negotiate WebRTC and attach to feeds
    myid = msg["id"];
    Janus.log("Successfully joined room " + msg["room"] + " with ID " + myid);
publishOwnFeed(); //...- Subscribe to new feeds from other participants
onmessage: function (msg, jsep) {
  var event = msg["videoroom"];
  if (event === "event") {
    if (msg["publishers"] !== undefined && msg["publishers"] !== null) {
      var list = msg["publishers"];
      for(var f in list) {
        var id = list[f]["id"];
        var display = list[f]["display"];
        var audio = list[f]["audio_codec"];
        var video = list[f]["video_codec"];
        newRemoteFeed(id, display, audio, video);
      }
    }
//...
Where newRemoteFeed will create a new plugin handle and attach to it as a subscriber. You can find a full js code example here.
Then using Chrome, Edge, Firefox or Safari, open the url for your web app (ie, http://localhost:3000) on three or more separated tabs and you should be able to connect with multiple participants.
You can take a look at the quick hack using React here: https://github.com/agonza1/reunitus.
Note: To work locally with Janus, and in general with WebRTC, you will need to enable insecure origins in chrome://flags/#allow-insecure-localhost
And that’s it! You have created your own custom video conference!
Interested in integrating custom video into your business? Let our experienced team help. Contact WebRTC.ventures today!


