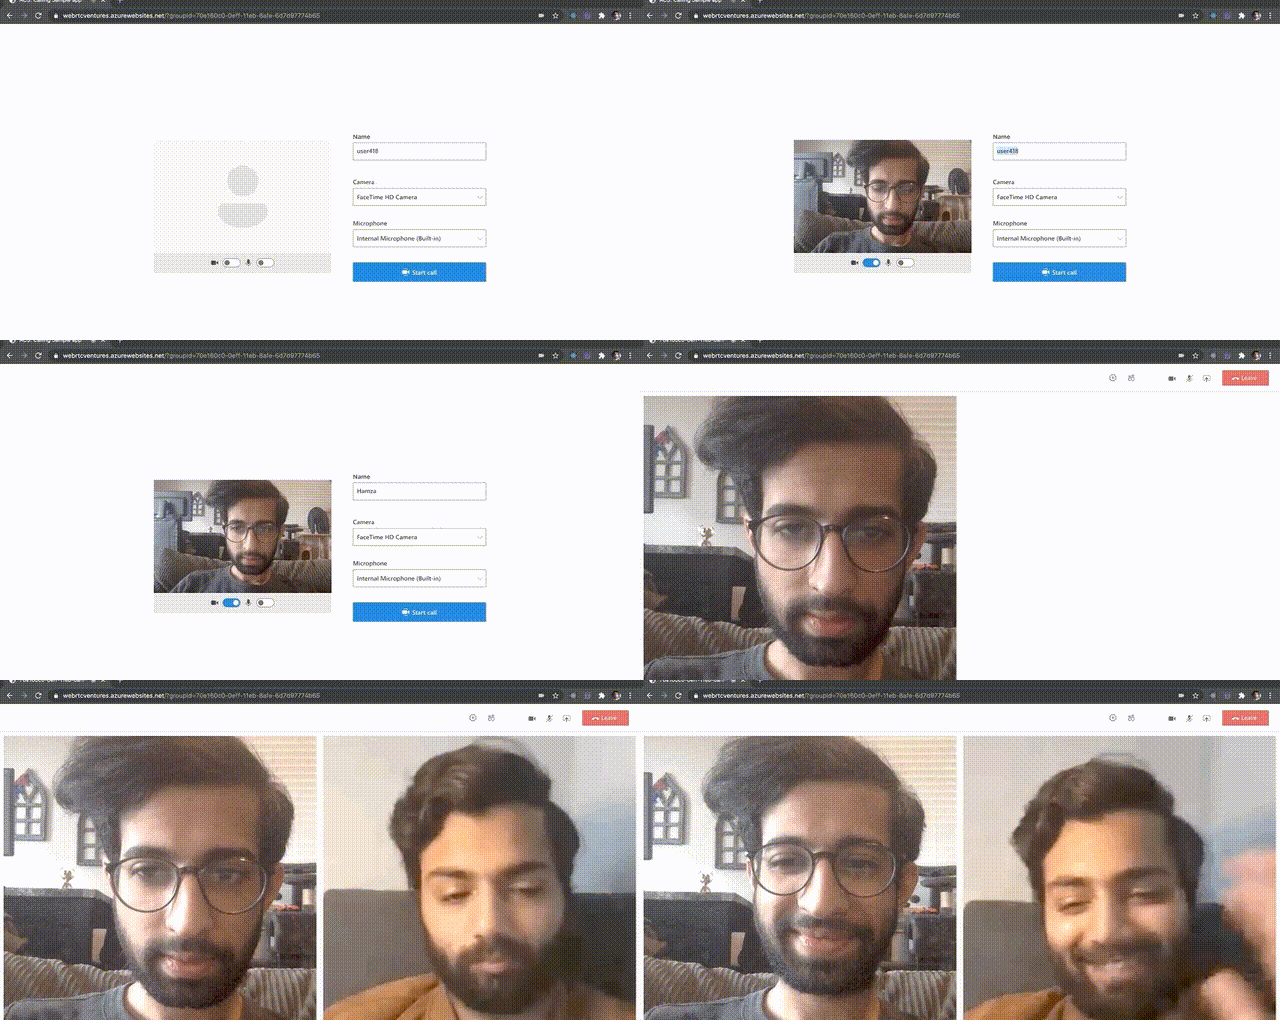
In a previous blog post, we discussed the advent of Microsoft’s new Communication-Platform-as-a-Service (CPaaS) platform, Azure Communication Services. Today, we will get our hands dirty and implement a Group Video Calling App that can handle up to 50 participants. We will go through setting up the app in your local environment and look at some key features in the code.
Prerequisites (1. Calling Hero Sample):
- Create an Azure account with an active subscription. For details, see Create an account for free.
- Node.js (12.18.4 and above)
- Visual Studio (2019 and above)
- .NET Core 3.1 (Make sure to install version that corresponds with your visual studio instance, 32 vs 64 bit)
- Create an Azure Communication Services resource. For details, see Create an Azure Communication Resource. You’ll need to record your resource connection string for this quickstart.
Now, clone the repository after navigating into your preferred directory:
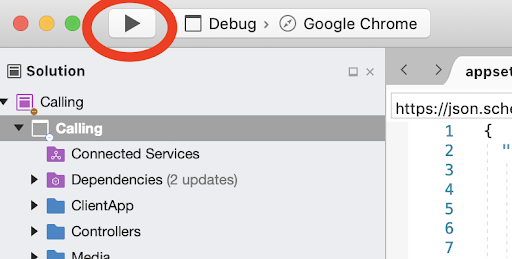
git clone https://github.com/Azure/Communication.gitNext, open up /Communication/samples/Group Calling Hero Sample/Web/Calling within your Visual Studio instance. Replace ResourceConnectionString with your connection string. You are now ready to build and run our group video calling app.
If you have issues just clean (Build -> Clean All) and rebuild (Build -> Rebuild All) the project.
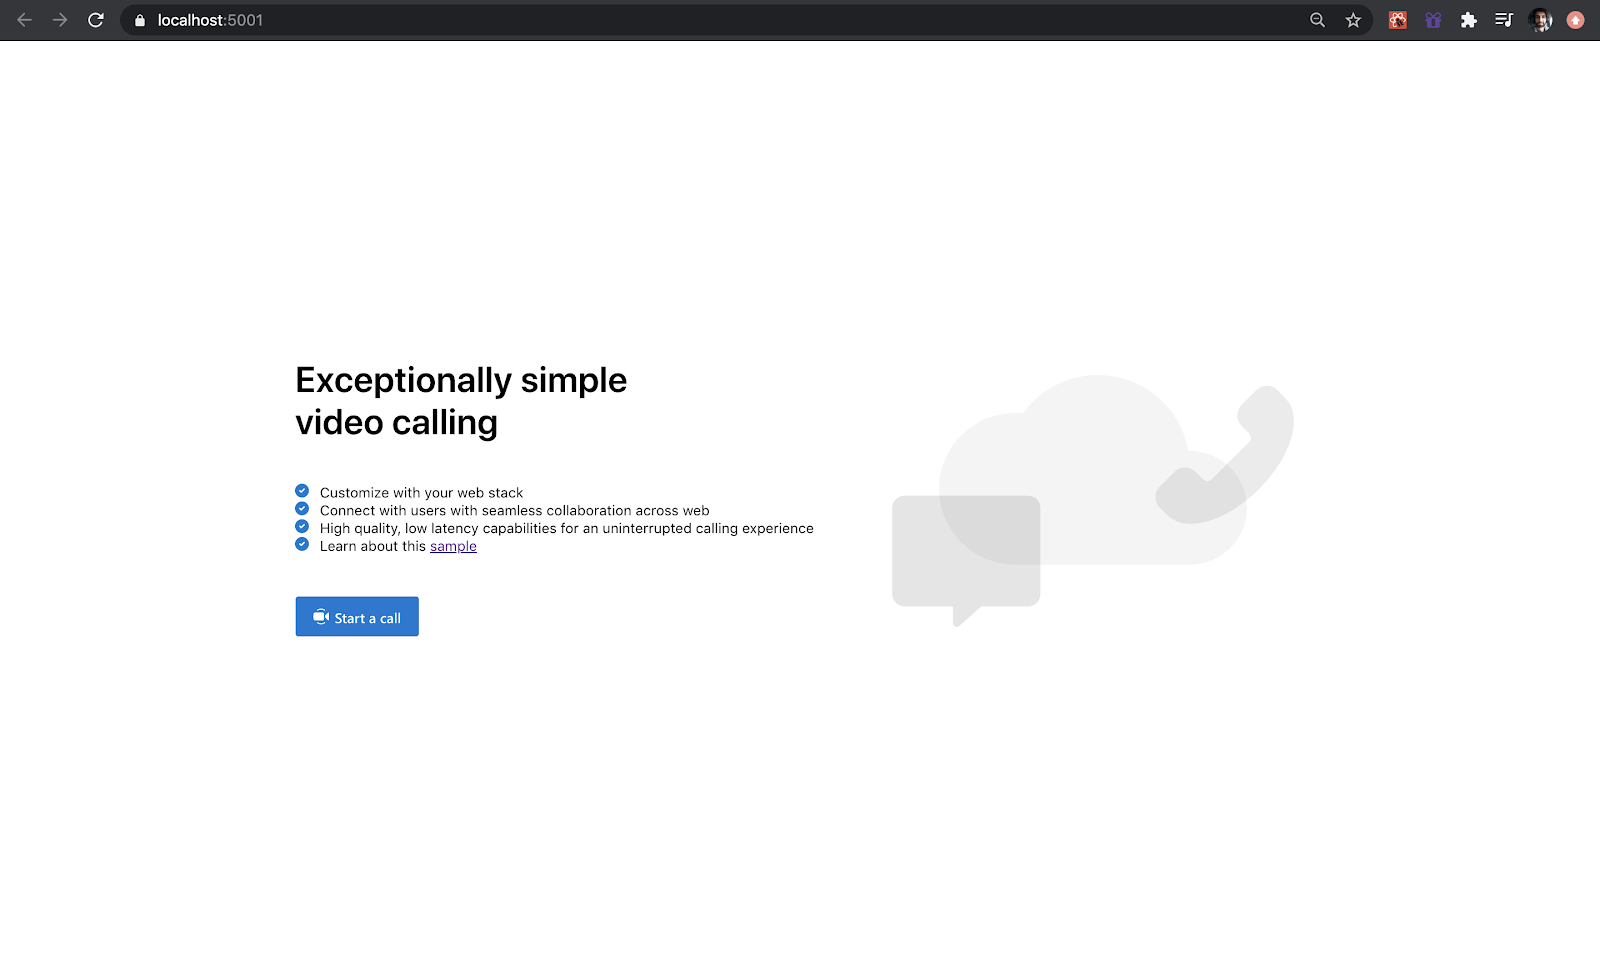
You should now have the app running at localhost:5001.
Code Discussion
Let’s start with the server-side code generation:
public class UserTokenController : Controller
    {
        private readonly CommunicationIdentityClient _client;

        public UserTokenController(IConfiguration configuration)
        {
            _client = new CommunicationIdentityClient(configuration["ResourceConnectionString"]);
        }

        /// <summary>
        /// Gets a token to be used to initalize the call client
        /// </summary>
        /// <returns></returns>
        [HttpGet]
        public async Task<IActionResult> GetAsync()
        {
            try
            {
                Response<CommunicationUser> userResponse = await _client.CreateUserAsync();
                CommunicationUser user = userResponse.Value;
                Response<CommunicationUserToken> tokenResponse =
                    await _client.IssueTokenAsync(user, scopes: new[] { CommunicationTokenScope.VoIP });
                string token = tokenResponse.Value.Token;
                DateTimeOffset expiresOn = tokenResponse.Value.ExpiresOn;
                return this.Ok(tokenResponse);
            }
            catch (RequestFailedException ex)
            {
                Console.WriteLine($"Error occured while Generating Token: {ex}");
                return this.Ok(this.Json(ex));
            }
        }
    }
Here, we write the behavior for the /userToken route. We will call this from the client side to receive a token that will allow us to join/start the session. We create a random CommunicationUser object and then generate a token for that user. We could also authenticate a specific user using O-auth with this class. That would look a little something like this:
using var userCredential = new CommunicationUserCredential(
    refreshProactively: true, // Indicates if the token should be proactively refreshed in the background or only on-demand
    tokenRefresher: cancellationToken => FetchTokenForUserFromMyServer("bob@contoso.com", cancellationToken),
    asyncTokenRefresher: cancellationToken => FetchTokenForUserFromMyServerAsync("bob@contoso.com", cancellationToken));
We want anonymous access to our app, so we don’t need this for now.
Let’s look at what we do with this token on the client side:
const tokenCredential = new AzureCommunicationUserCredential(userToken);
      let callAgent: CallAgent = await callClient.createCallAgent(tokenCredential);
Here, userToken is what we get from the /userToken API call. We create a CallClient object with this token. We will use this to start the call and register signal handlers associated with the call.
Next, let’s take a look at some of the signal handlers of interest:
addedCall.on('callStateChanged', (): void => {
            dispatch(setCallState(addedCall.state));
          });
This will fire off when a participant mute/unmute themselves or some other state change happens associated with that user.
addedCall.on('remoteParticipantsUpdated', (ev): void => {
            ev.added.forEach((addedRemoteParticipant) => {
              console.log('participantAdded', addedRemoteParticipant);
              subscribeToParticipant(addedRemoteParticipant, addedCall, dispatch, getState);
              dispatch(setParticipants([...addedCall.remoteParticipants.values()]));
            });

            // we don't use the actual value we are just going to reset the remoteParticipants based on the call
            if (ev.removed.length > 0) {
              console.log('participantRemoved');
              dispatch(setParticipants([...addedCall.remoteParticipants.values()]));
            }
          });
These two event handlers are used to populate the participant list and also to update the UI to accommodate new participants or to remove old ones.
Finally, let’s take a look at how we join the call:
export const joinGroup = async (callAgent: CallAgent, context: GroupCallContext, callOptions: JoinCallOptions) => {
  try {
    await callAgent.join(context, callOptions);
  } catch (e) {
    console.log('Failed to join a call', e);
    return;
  }
};
The object returned by this method is basically the control room for the call. It can be used to mute/unmute audio, start/stop video, get all participants, check which participants are speaking etc.
Similar to how we start the call, this is how we end it:
export const endCall = async (call: Call, options: HangupCallOptions) => {
  call.hangUp(options).catch((e: CommunicationError) => console.error(e));
};
This concludes the basic configuration and elements you need to set up and group video calling Azure Communication Service app. You can see what I built below. Happy Coding!

Are you interested in building your own custom live video application using Microsoft’s Azure Communication Services or any other CPaaS? Perhaps you have a business workflow in which you’d like to integrate Teams and Azure Communication Services. Our team of WebRTC development experts can build your custom video application for web or mobile. Contact us for more information!


