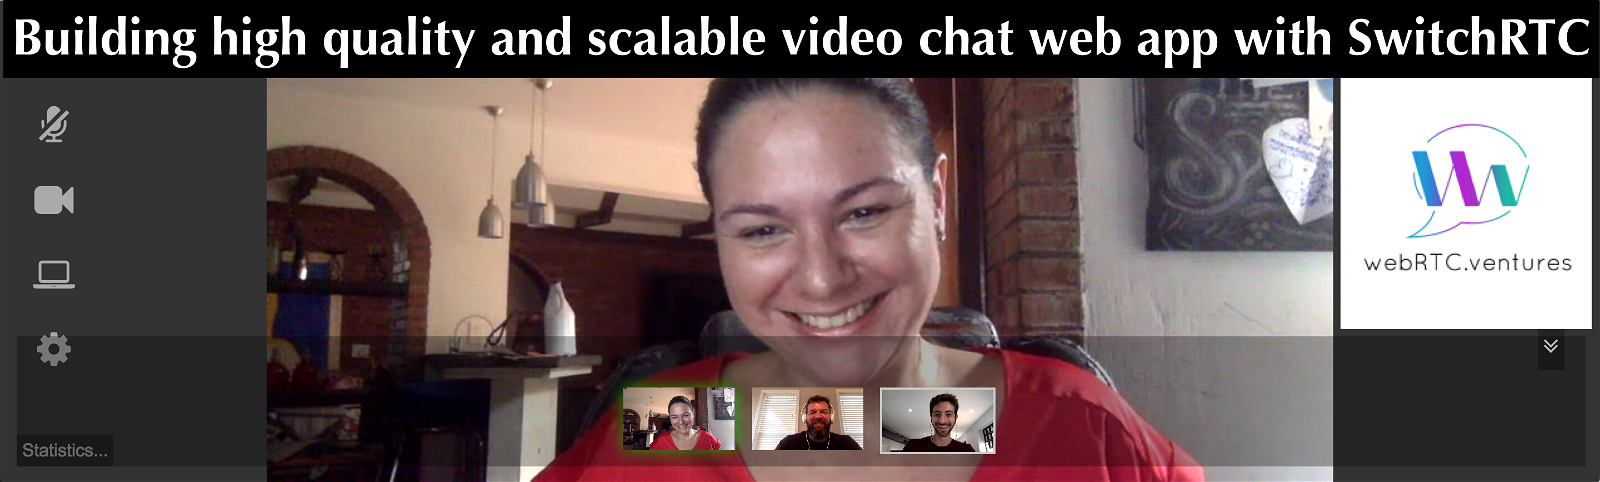
Building high quality and scalable video chat web app with SwitchRTC
As part of our daily gymnastic we always dedicate time and effort to learn and work with cutting edge technology. In WebRTC.ventures we’ve been using SwitchRTC which is a WebRTC based Selective Forwarding Unit (SFU) that runs on Amazon AWS or other cloud public or private environments.
We recently joined their partnership program SwitchRTC Technology Circle partner program and thanks to that we had the opportunity to fully test its capabilities. (Read more in our previous post WebRTC.ventures joins the SwitchRTC partner program)
In this post we want to share our learning path, and tell you about the great impression we got about this platform and support.
SwitchRTC Overview
SwitchRTC is what we normally call in our industry as an enabler: it enables to integrate its framework into existing services enriching them with collaboration features such as large scale real-time video broadcasting and multi-party.
There are three main components:
- SwitchRTC Media Server
- SwitchRTC Signaling Server
- Your Web Client running over HTTPs. (Javascript SDK)
Media Server
The Media Server is at the heart of the SFU as it is responsible for the heavy lifting of receiving media streams and deciding dynamically what to forward to which user. This function gets complex when handling load, supporting simulcast, sending different streams to each user and managing different network conditions of each user.
The SwitchRTC media server supports a pretty large scale of multiparty video (all sending and receiving) and is able to split a single session between few media servers. It also supports hierarchy between media server instances, hence allowing for large scale broadcasting.
Signaling Server
The Signaling Server based on Node.js. Its main responsibility is to provide the mechanism for the handshake between the web clients and the Media Server prior to start the media communication, handle in-session signaling and manage distribution of sessions between media servers.
The signaling server comes with RESTful API that allow for status, monitoring and management of all system elements. For example you can use the APIs to manage user permission and tokens, manage sessions and settings.
Web Client
SwitchRTC provides a web client SDK as well as a sample app ready to use and a guide for developers covering all the details of the JavaScript SDK so that you can integrate it in your own web site.
Each component has to be installed and configured separately (see the installation and configuration process below).
Main features
- Java Script SDK and sample application
- Support for Opus, G.711, G.722, ISAC, VP8, VP9 and H.264
- Configuration of external TURN and STUN servers to be used. For example, we used the Twilio TURN service which was super easy to configure on SwitchRTC
- Screen Sharing, super easy to get this running for your domain and it is possible to send screen sharing along with the camera video streams.
- Audio only option, in order to join the call without publishing video
- Receive only option. This will allow Real-time Broadcasting since the participants will only subscribe the audio and video from others without publishing their own
- HD Video Support and dynamic changing of resolution and FPS as system adapts to network conditions and bandwidth
- Support for streaming from multiple devices. This means you can publish A/V from many devices from the same browser tab, multiple cameras.
Getting started
The first thing to do is to get SwitchRTC by entering your information in their contact form. They’ll contact you and provide you a ZIP package that contains everything you need to begin.
The folder structure is the following:
- mediaserver: media server binary (Linux x64)
- nodeserver: the Signaling Server.
- webclient: A sample web client app that should be served by a web server over https, just in case you don’t want to use the one included in the nodeserver.
- deploy: optional run scripts
- misc: Chrome extension required to do screen sharing (that’s a Chrome security requirement to use an extension)
In addition, the zip contains documentation of the REST API and a configuration guide.
Pre-requisites
- Node version >= 7.x installed. If you don’t have it already installed follow the instructions on https://nodejs.org/en/download/package-manager
- To run the web client locally you’ll need self-signed certificates (ssl.key and ssl.cert)
Install and configuration process
Media server
You can start the media server using the run script that is within the deploy folder, as follows:
/deploy$ ./mediaserver.sh
And that’s it. As you can see, this part is pretty easy.
Node server
The following steps are for the most basic configuration to serve the web client files without the need for external web server:
- Edit the file /nodeserver/Config/Config.js
- Set the path to your ssl.cert and ssl.key files.
- By default the server will use free public STUN servers from Google and Mozilla. Optionally you can set Twilio STUN/TURN service providing the accountSid and authToken, and finally setting the flag enabled in true.
- For debugging purposes you can leave restApiServeWebclientFiles in true and the Node.js will serve the web client in the port 8900. If you set this flag to false, you can serve the web client using either Apache or Nginx.
- Install the dependencies. Make sure you have node >= 7.x installed previously and then run `npm install`.
/nodeserver$ npm install - Start the server using the run script in the deploy folder:
/deploy$ ./nodeserver.sh
2017-05-18 22:41:22.178Z - info: Starting SwitchRTC Node Server...
2017-05-18 22:41:22.211Z - debug: [restAPI.js] Initializing RESTful API Server...
2017-05-18 22:41:22.243Z - debug: [websocket_manager] Initializing module...
2017-05-18 22:41:22.267Z - debug: [restAPI.js] RESTful API Server is listening on port:
8900
2017-05-18 22:41:22.270Z - debug: [media_servers_manager] connecting to media server
<media-8888> url <ws://127.0.0.1:8888>
2017-05-18 22:41:22.342Z - info: [media_servers_manager] connected to media server
media-8888 ws://127.0.0.1:8888
2017-05-18 22:41:27.157Z - info: [media_servers_manager] server <media-8888>
serverVersion <Mar 10 2017, release build>
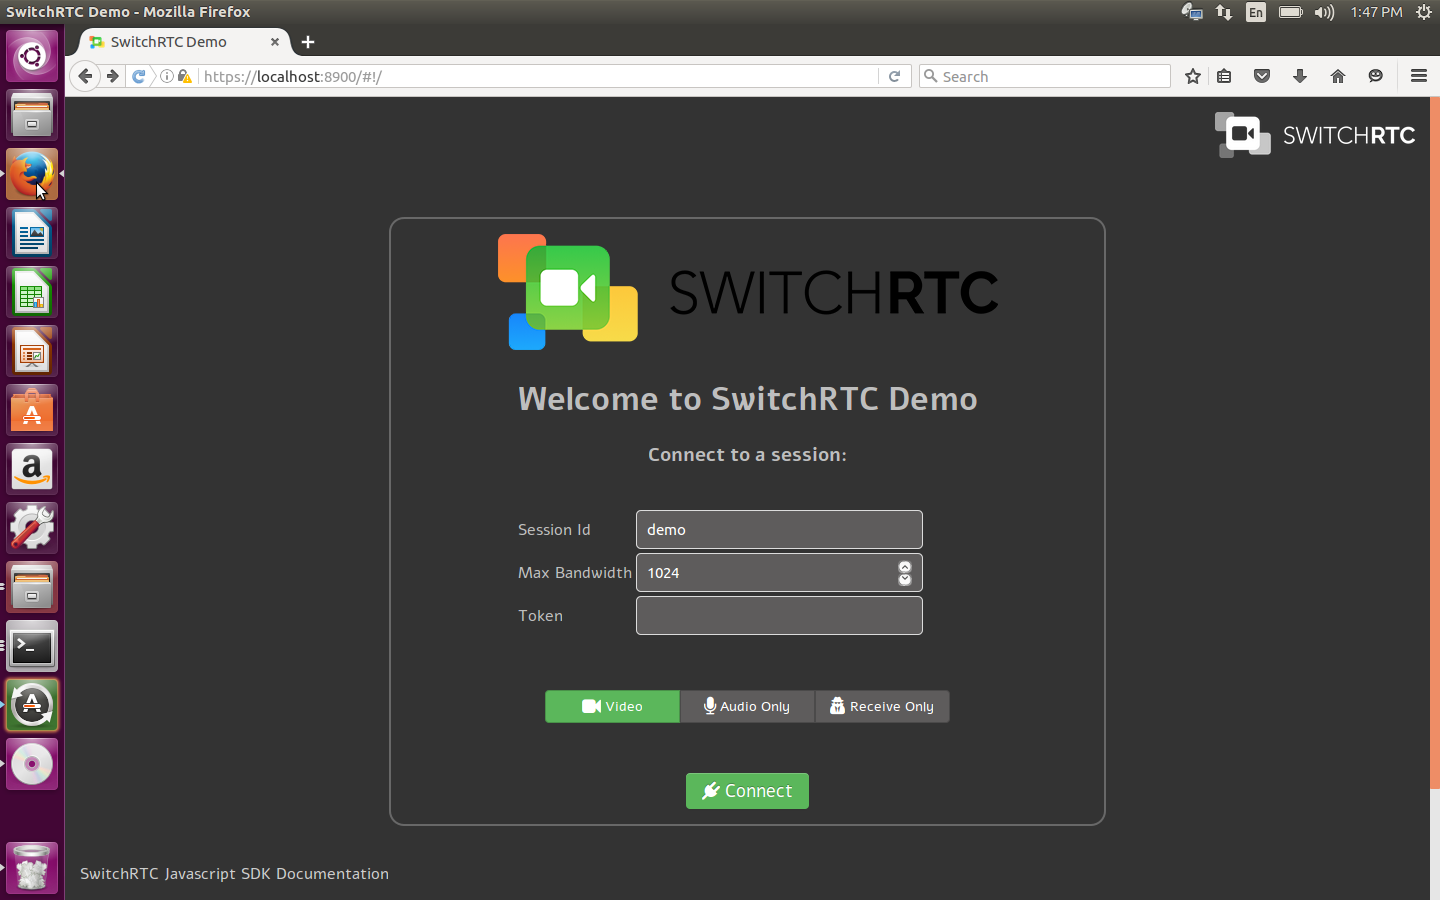
- Open the web client using any of the supported web browsers. The default URL is https://localhost:8900/ and you should be able to see the sample app home page:
Conclusions from the development point of view
SwitchRTC is very simple use, customize and get started with. It allows to create simple WebRTC based applications or pretty complex ones with scale and different media management scenarios like subscribing to specific streams.
The JavaScript SDK is quite small and easy to use. It uses sessions and peers.
Unlike a CPaas solution, SwitchRTC is a great alternative if you need more control over the servers.
Another particular advantage is that It’s based on a dedicated build of the Google WebRTC source code (with modifications they have done in it) for the SFU media server and it’s being continuously upgraded with all Google’s releases. So, SwitchRTC takes benefits easily on each improvement from Google itself.
We want to thank to Amir Zmora (Co-founder & CEO at SwitchRTC) and their support team that followed us along the process of building our own prototype and then in a real customer project.
How can we integrate SwitchRTC into your video communications solution? As members of the SwitchRTC Technology Circle program we are happy to build the SwitchRTC SFU into your application – contact us today!


