From the previous two posts in this series, you know how CPaaS works and the overall process to implement a CPaaS in your application. Now, it’s time to see how these steps are performed – at least at the time of writing this post – in three popular providers who we partner with here at WebRTC.ventures: Amazon Chime SDK, Daily, and the Vonage Video API.
Amazon Chime SDK
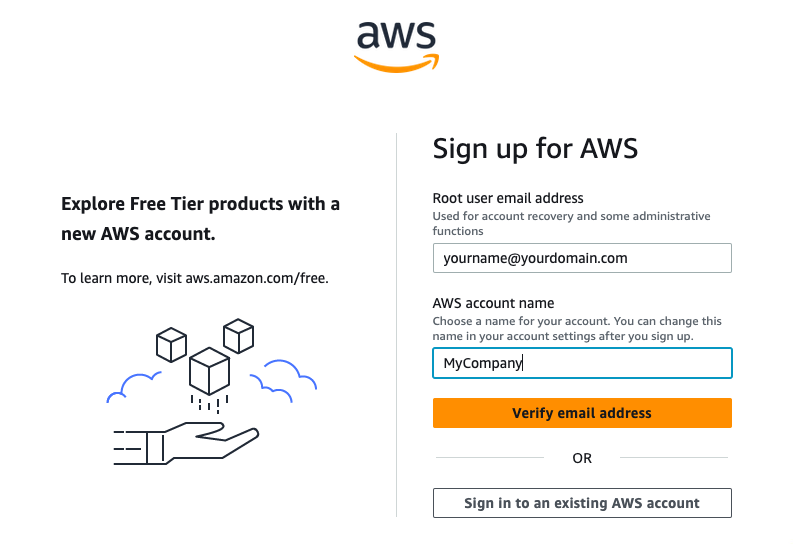
- Create an account

- Amazon Chime SDK is an AWS service, so create an AWS account and also create an IAM user with sufficient permissions for it.
- You can grant your team access by creating additional IAM users for them in the IAM console.

- For applications that run outside of the AWS account, create a set of IAM Access Key and Secret.

- For applications that run within the same AWS account, create an IAM Role to be used with the service that runs it.
- Provide billing information
- Enter your billing information in the Billing console.
- Interact with the platform
- Get the SDK from Amazon Chime SDK developer guide and add it to your application.
- If your application runs outside of your AWS account, add the IAM Access Key and Secret to your application backend as described before.
- If your application runs within the same AWS account, make sure the service where it runs has an appropriate IAM role associated with it.
- If you need any of these values in the client side, follow the advice provided before for having secrets there.
- Monitor your usage
- You can track media usage and statistics in the Amazon Chime SDK Console.


Daily

- Create an account
- Start by creating an account at Daily.

- You can grant additional users to this account by going to “Settings” and then “Add member”.

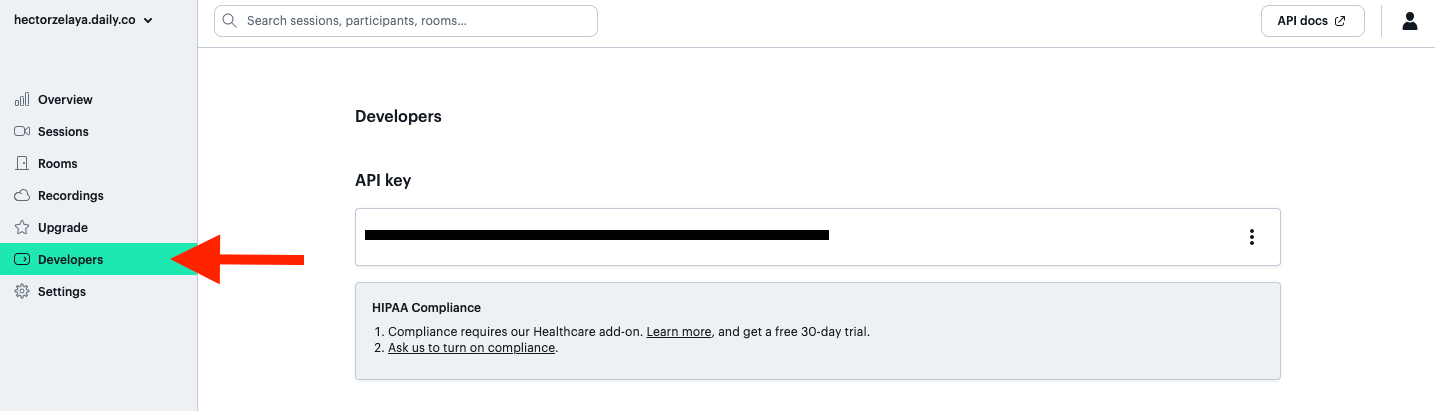
- Create an API Secret in the “Developers” section. You’ll use this key in your application.

- Start by creating an account at Daily.
- Provide billing information
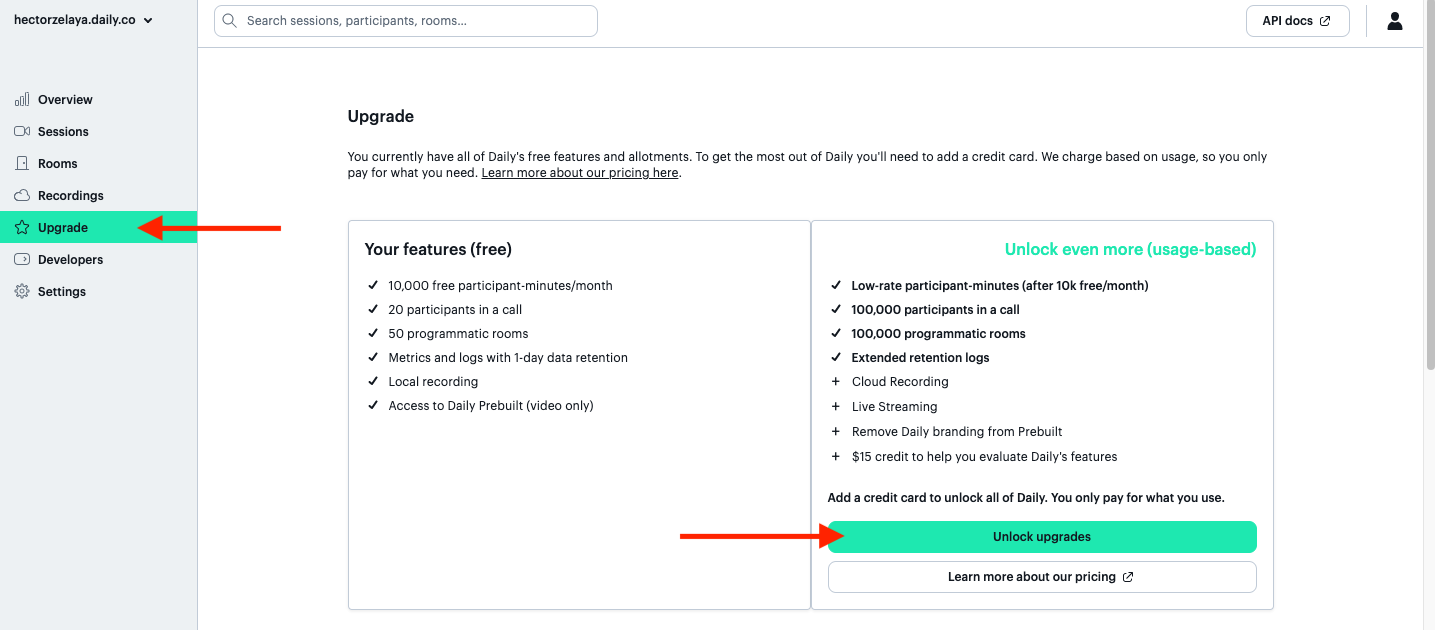
- Daily provides a free tier that’s useful for development environments. When you’re ready to go to live click on “Upgrade” and choose a plan.

- You can add billing information after choosing a plan.
- Daily provides a free tier that’s useful for development environments. When you’re ready to go to live click on “Upgrade” and choose a plan.
- Interact with the platform
- To interact with the platform from server side applications, you make HTTP requests to their REST API. You should include the API Secret for authentication
- To interact with the platform from client side applications, you can get any of their client side SDKs for Javascript, React, React Native, Android and iOS, and add it to your application.
- Monitor your usage
- You can track media usage and statistics in the Daily dashboard.


Vonage Video API
- Create an account
- Start by creating an account at Vonage Video API.
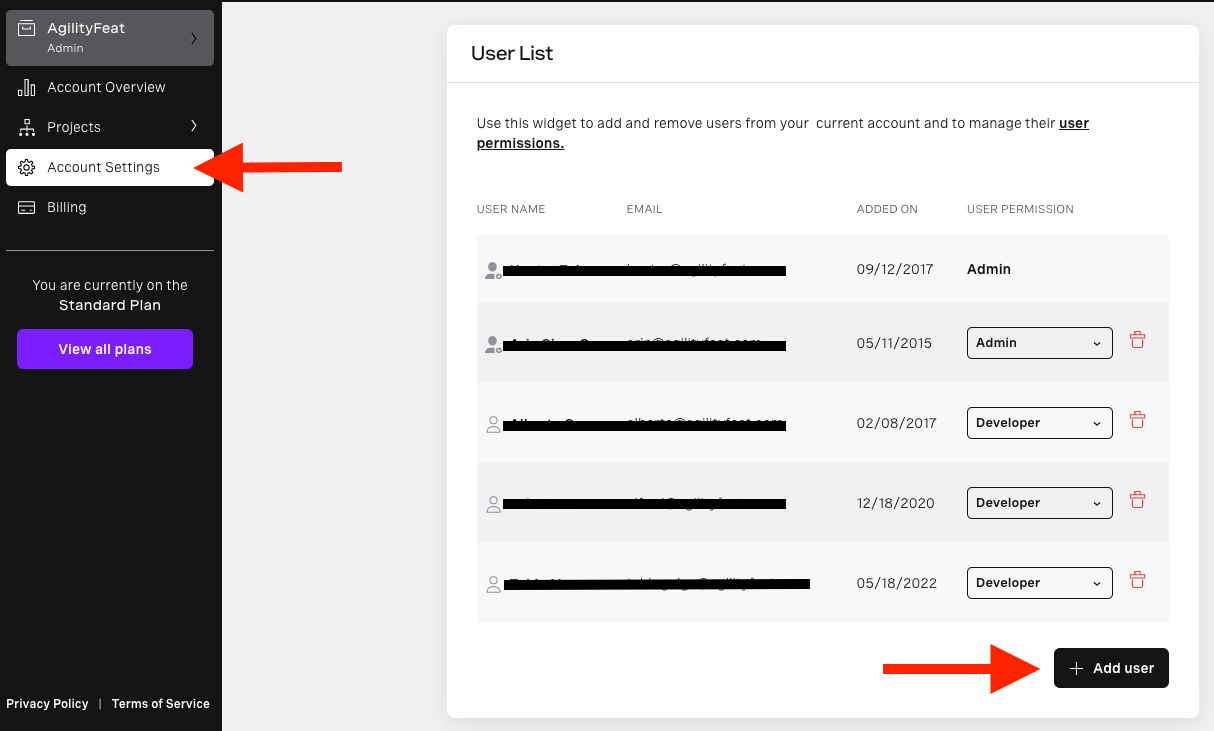
- Then, in the Vonage Video API dashboard you can grant your team access by going to “Account Settings” and then “User List”.

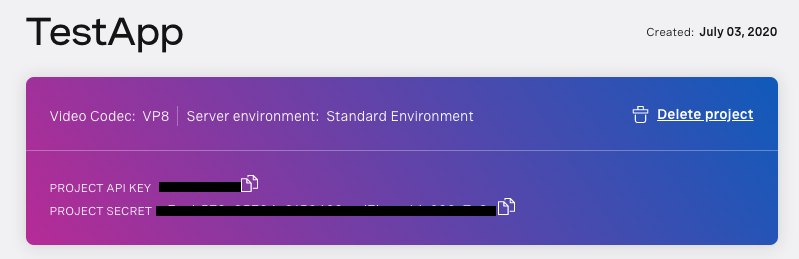
- Vonage Video API requires you to create “Projects”. Create a new project by clicking on “Projects”, and then “Create New Project”. Complete the form and note the Project’s API Key and Secret.


- Provide billing information
- In the main dashboard Click on “Billing” and scroll down to “Billing Settings”.
- Enter your billing information.
- Interact with the platform
- Get the client and server SDKs from their developer’s guide and add these to your application.
- Add the Project API Key and Secret obtained from the previous step to your application backend as described before.
- If you need any of these values in the client side, follow the advice provided before.
- Monitor your usage
- In the Vonage Video API dashboard you can track each project usage and get statistics that will allow you troubleshoot when things have gone wrong.

In Conclusion
Building a WebRTC application without the proper tools and expertise is hard. However, a CPaaS is an alternative that solves that complexity, (though you should always consider, “Is a CPaaS the Right Choice for my WebRTC Application?“) The details of implementing CPaaS in your application will vary depending on the provider but, overall, it consists of creating an account, setting up billing information, interacting with the platform through their SDK or any interface they provide, and monitoring your usage.
At WebRTC.ventures we’ve been building WebRTC applications from the ground up since 2015 and have the tools and expertise you need to build your applications. In addition to that, we have partnerships with some of the biggest CPaaS providers in the industry, so either way we can provide the support you need. Contact us today and let’s make it live!
In this series:
- How to Build WebRTC Applications Using CPaaS, Part One: The Why
- How to Build WebRTC Applications Using CPaaS, Part Two: The Implementation
- How to Build WebRTC Applications Using CPaaS, Part Three: Popular Options


