Chrome extensions have been around since the beginning of Google Chrome. Although we usually recommend implementing your application functionality without extensions, there are some cases where they come in handy to customize the browsing experience, like for spelling and grammar correction, note-taking, and screen recording.
In the past, we used Chrome extensions for WebRTC screen sharing frequently because it was the only way to complete this function, but today, as of Chrome 72, screen sharing is fully built-in and no longer requires an extension.
In this basic demo, I’ll discuss the basics of Chrome extensions and how to create an extension that records your current tab. If you’d like to run the extension, you can download the extension code here. Several code pieces were based on this very complete Chrome extension.
At the end, the extension can be published to Google Extension Store, where anyone can download, install, and use your development program in their Chrome browser.
Setting up the environment
Extensions can have different user interfaces, so code could be organized differently. A common structure that we used in this demo is based on three main elements:
- A popup element displayed when you click the extension button
- Background scripts running when an event is fired
- A manifest JSON (required for all the extensions) that will describe the extension and its elements

The manifest
The manifest.json is required for all the extensions. It describes the extension and includes the most important files and capabilities. The manifest file for this demo looks like this:
{
  "name": "A browser action that records the playing live video",
  "description": "Record the received video",
  "version": "1.0",
  "permissions": [
    "activeTab",
    "storage",
    "tabs",
    "tabCapture",
    "desktopCapture",
    "<all_urls>"
  ],
  "background": {
    "scripts": [
      "MediaStreamRecorder.js",
      "DiskStorage.js",
      "background.js",
      "background.common.js",
      "background.tabCapture.js"
    ],
    "persistent": false
  },
  "browser_action": {
    "default_title": "Live Media Recorder",
    "default_icon": "images/icon.png",
    "default_popup": "popup.html"
  },
  "manifest_version": 2
}
How to load the extension
- Open chrome://extensions.
- Enable Developer Mode. To do this, toggle the switch next to Developer Mode in the top right corner.
- Click the “Load Unpacked” button and select the extension directory.
If you have more questions about how extensions are developed or the APIs that are available, check out this guide.
The screen capture functionality
As shown in the manifest.json above, we gave permissions to “tabCapture.” This is because we will be using this. After you click to “start recording,” the chrome.tabCapture API will let us capture the media stream.
Then we’ll use the MediaStream and MediaRecorder interfaces to grab the live video stream and record it locally.
function gotTabCaptureStream(stream, constraints) {

    var newStream = new MediaStream();

    if(enableTabCaptureAPIAudioOnly) {
        getTracks(stream, 'audio').forEach(function(track) {
            newStream.addTrack(track);
        });
    }
    else {
        stream.getTracks().forEach(function(track) {
            newStream.addTrack(track);
        });
    }
    gotStream(newStream);
}
The TabCaptureStream function passes the video and audio tracks to newStream and sends that to gotStream(). Once the gotStream function receives the stream, it will use MediaRecording to start the record function defined here.
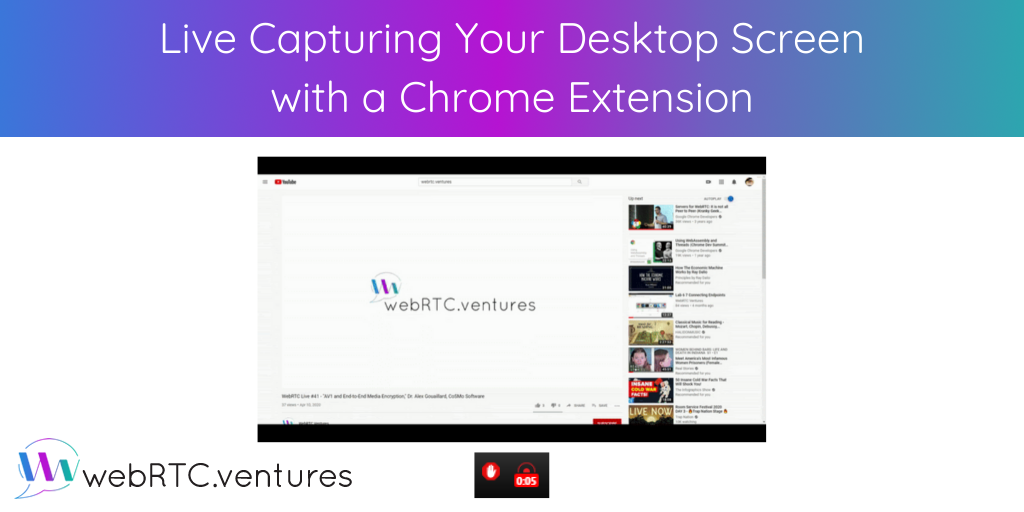
Once everything is set up in the browser, we can test it out. Click “Start recording” when you are ready to record your tab.


Debugging and testing
Testing your Chrome extension is similar to testing a web application. You will inspect the page and the extension, but you’ll need to know where to look.
While content script errors will display on the DevTools page, other scripts that run out of the webpage won’t display there. To see those, you’ll need to open chrome://extensions and click to “Inspect views” or “Error” under the corresponding extension to display those background scripts and popup errors.

If you have questions about how to test and debug Chrome extensions you can find information to help you here.
Do you need help building a live video recording application?
Our experienced team can build your custom live video application with all the features you need. We can also build your custom browser extension for your specific use case. Contact us today!


