An important element of a DevOps philosophy is automation. When it comes to automating server configuration, a popular tool is Ansible. Today we’ll take a look at how to automate the installation and configuration of Asterisk for a WebRTC application using Ansible.
Getting the code
The sample code used for this exercise is hosted on Github. Clone the repo and follow along.

The repo contains a simple WebRTC application that uses jssip to connect to an Asterisk server. It also has a playbooks folder where Ansible configuration files are stored.
Setting the host and roles
The first thing we need to do is tell Ansible where to find our Asterisk server. This is done through an inventory file. In our case, the inventory file is the hosts file in the project root folder. Add the IP address or domain name of your Asterisk server to this file as shown below.

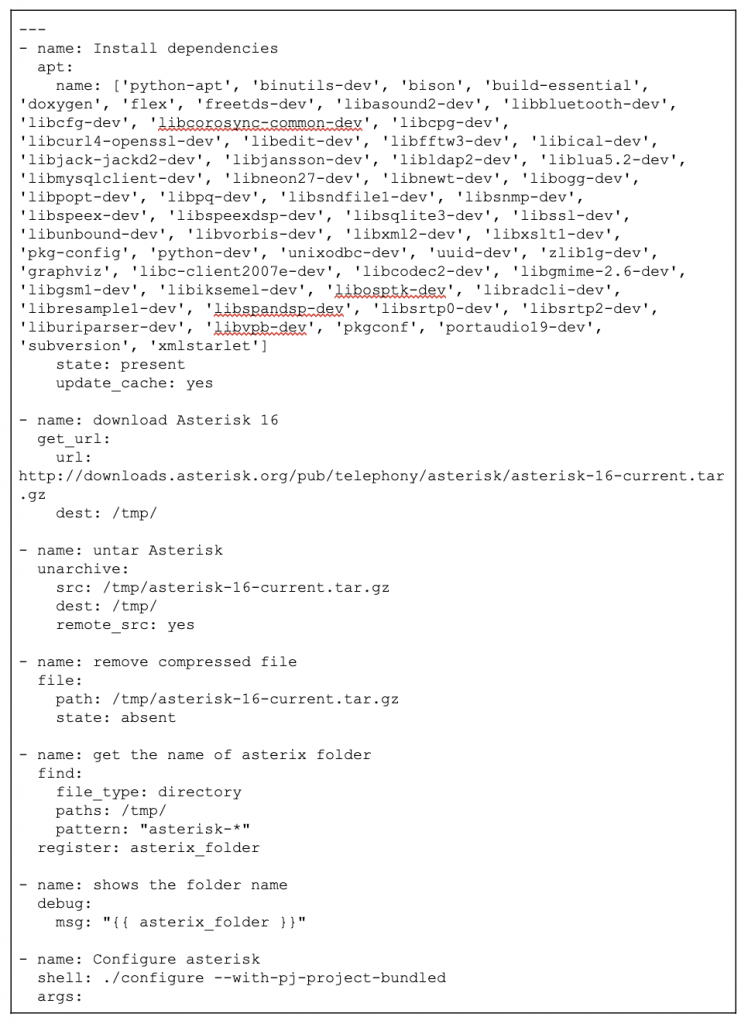
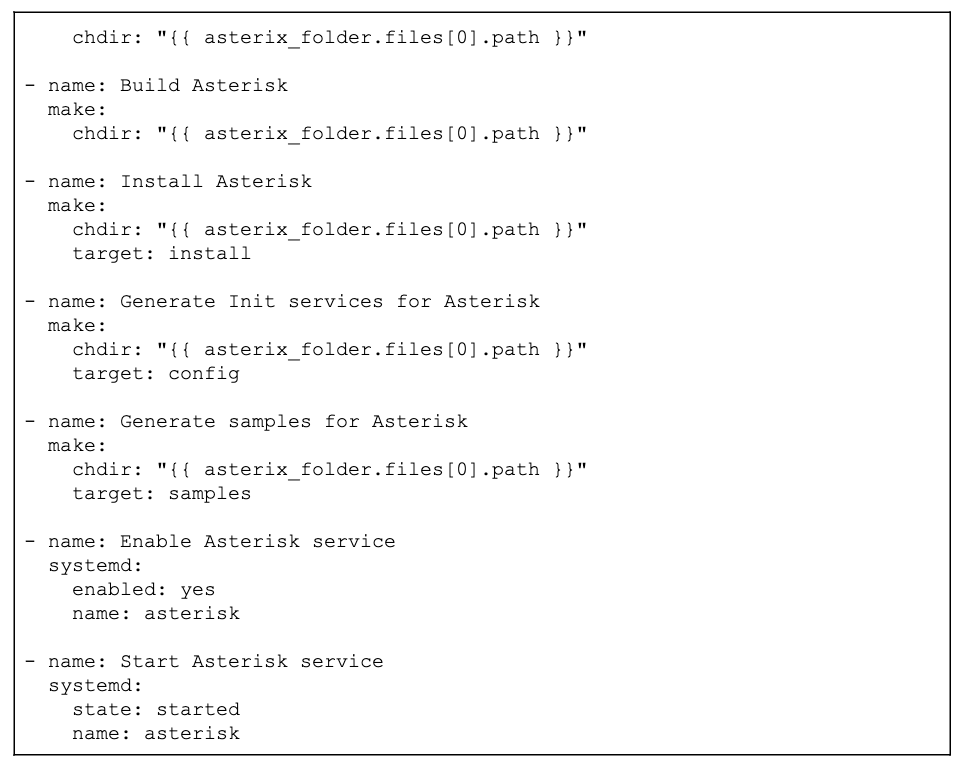
Now let’s take a look at the roles that will be in charge of installing and configuring our Asterisk instance. First, we have the installation. This role will install Asterisk from source.
Next we have the configure role, which modifies the Asterisk configuration files to add support for our application requirements. Proper SSL certificates for the Asterisk server domain are required for the configuration to work correctly. Be sure to get these and copy them under playbooks/keys/.
For demonstration purposes, a script for generating self-signed certificates is provided in the same directory. However, using self-signed certificates is not recommended. In fact, Google Chrome would block access to our server if we did this. To bypass the certificate errors on Google Chrome, follow these instructions. You should never use public-faced self-signed certificates for a production app.
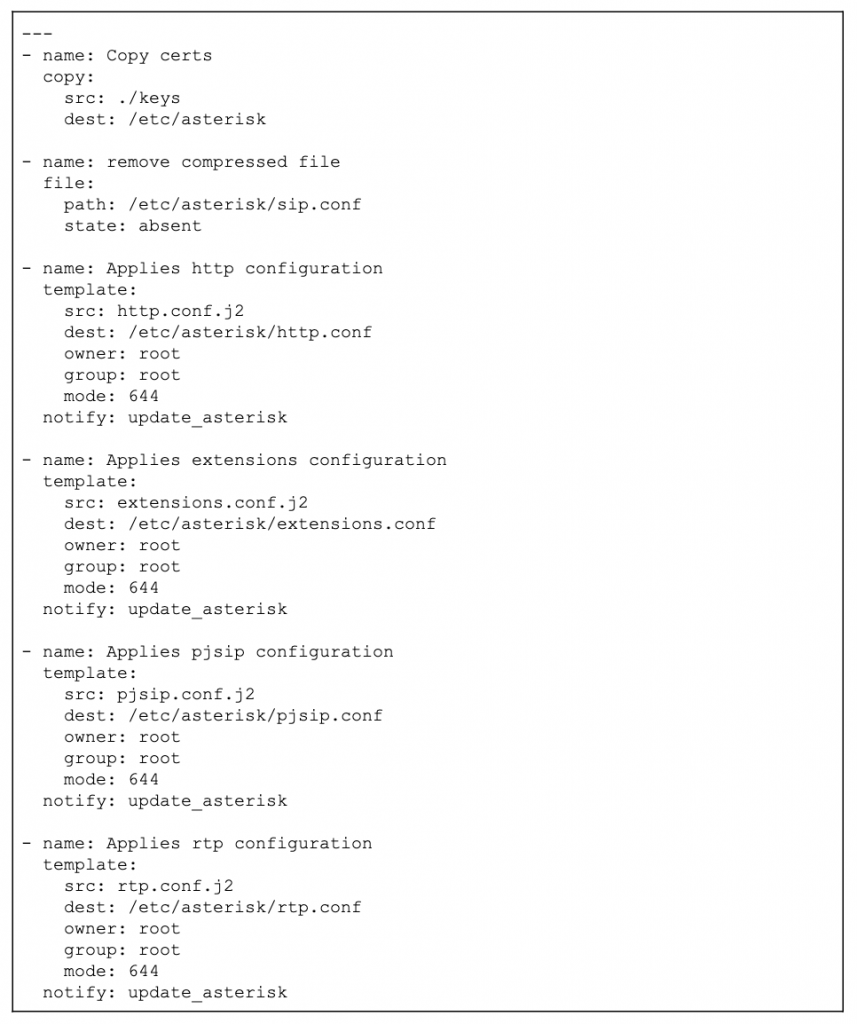
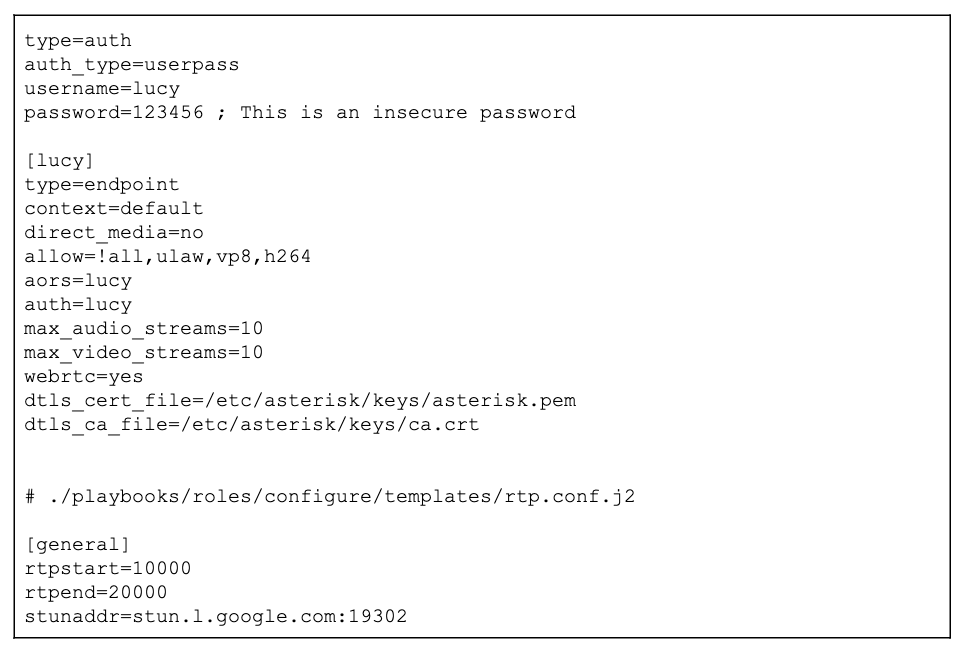
Finally, we have the templates that store the configuration. For this example, we have two users, Lucy and Bob. Both of them connect to the Asterisk server using a secure connection through port 8089. Note that both users use weak passwords that are not recommended for production sites.
Once everything is set, run the playbook:

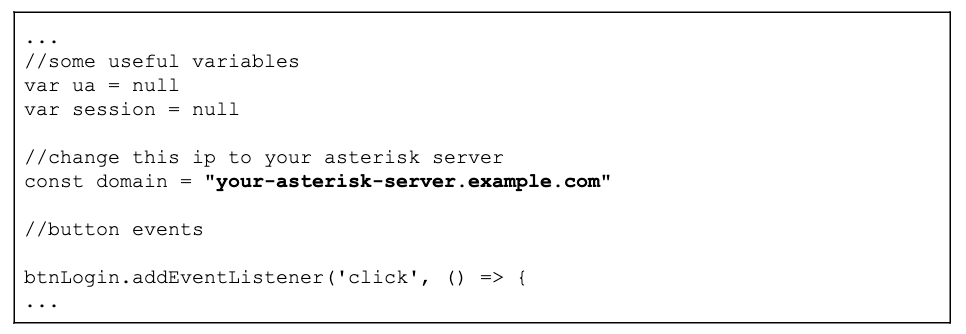
Now you can use the example application, making sure you’ve changed domain value in main.js.
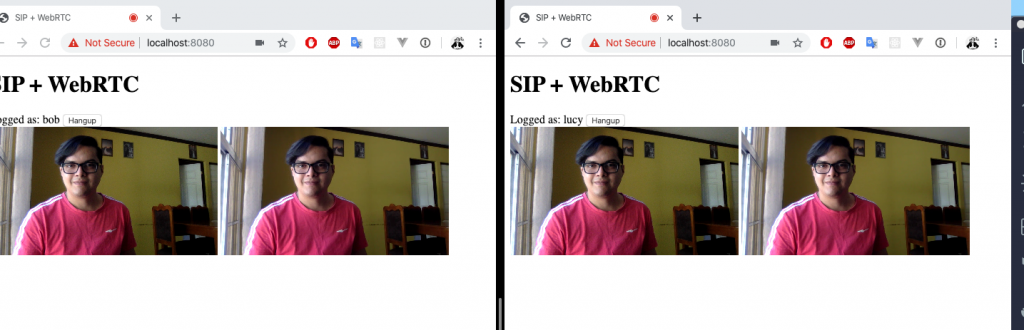
Run the application:

And open https://localhost:8080.
Conclusion
Automation of Asterisk installation and configuration for a WebRTC application is straight-forward with the help of powerful tools such as Ansible!